- June 21, 2024
- Posted by: wellcoindustries
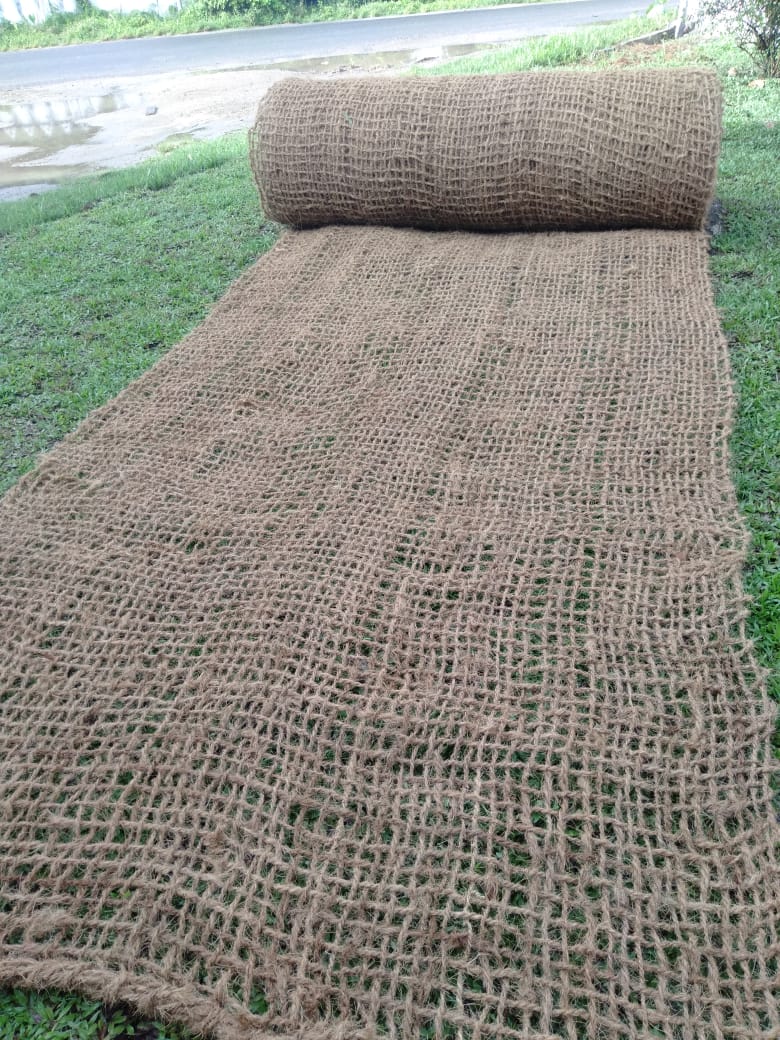
- Categories: Erosion Control, Jute Mesh
No Comments
Jute netting is a versatile and eco-friendly product used in various applications such as gardening, erosion control, and packaging. Making your own jute netting can be a rewarding project. Here’s a simple guide to help you create jute netting.
Materials You’ll Need:
- Jute twine: This is a strong, biodegradable material perfect for netting.
- Measuring tape: To measure the length and width of your netting.
- Scissors: For cutting the jute twine.
- Wooden frame or pegs: To hold the shape of your net while you weave it.
- Ruler or stick: To ensure even spacing between the knots.
Step-by-Step Instructions:
- Set Up Your Work Area: Choose a flat, clean surface to work on. If you’re using a wooden frame, secure it firmly. If using pegs, place them in the ground or a sturdy board at the desired dimensions of your netting.
- Measure and Cut the Twine: Decide on the size of your net. For a 3×3 foot net, cut the jute twine into pieces slightly longer than the intended width and length. You’ll need both horizontal and vertical strands.
- Secure the Horizontal Strands: Tie one end of a piece of jute twine to the top left corner of your frame or first peg. Stretch it across to the top right corner and secure it. Repeat this process, spacing the strands evenly (about 2-3 inches apart) until you reach the bottom.
- Weave the Vertical Strands: Starting from the top left corner again, tie a piece of twine and weave it under and over the horizontal strands. Secure it at the bottom. Continue this process, spacing the vertical strands evenly, until you fill the entire frame or reach the last peg.
- Tie the Knots: To ensure your netting is strong and durable, tie knots at each intersection where the horizontal and vertical strands meet. A simple square knot (right over left, then left over right) works well.
- Trim and Finish: Once all the knots are tied, trim any excess twine for a neat finish. If desired, you can reinforce the edges by weaving an extra strand of jute twine around the perimeter of the net.
- Inspect Your Net: Check for any loose knots or uneven spaces and adjust as needed. Your jute netting should now be strong and ready for use.
Tips for Success:
- Consistency: Keep the spacing between knots and strands consistent for a uniform appearance.
- Tight Knots: Ensure all knots are tight to prevent the netting from loosening over time.
- Patience: Weaving can be time-consuming, so take your time to ensure quality work.
Making jute netting is a practical skill that can be applied in various ways. Whether you’re looking to support climbing plants, prevent soil erosion, or create eco-friendly packaging, this guide will help you produce durable and functional jute netting.
By following these steps, you can create your own jute netting at home, contributing to sustainable practices while enjoying the satisfaction of a handmade product.